5 CAMERA FRIENDLY MAKEUP TIPS
5 camera-friendly tips for doing your own photoshoot makeup
When it comes to how to do your makeup for a family, maternity or newborn shoot, keeping it simple and natural is key. I know hiring a professional makeup artist isn’t always an option, so in this blog article, we’ll go through some camera-friendly tips to help you achieve a beautiful and natural makeup look!
1. Prepare your base
The key to a natural and camera-friendly makeup look starts with preparing your skin. The night before your photoshoot, use a gentle exfoliator to remove any dead skin and then follow with your regular night routine.
On the day of your shoot, start your makeup routine by cleansing your face with a gentle cleanser to remove any impurities. If you’re anything like me, your face goes a little red after you wash it, so I like to cleanse / moisturise and then give it a little time to settle before I start my makeup.
Pro tip - applying a primer before your makeup will create a smooth base and enhance your look!
2. Light and breathable foundation
Always try to opt for a lightweight and breathable foundation that matches your skin tone. If you're unsure whether your foundation is the right match for your skin, stores like Mecca and Myer will colour match your foundation for free.
Use your fingertips or a damp sponge to blend the foundation seamlessly (don’t forget your neck). A lightweight foundation will allow your skin's natural texture to shine through.
Pro tip - if your photographer is using flash or studio lighting, avoid makeup or skincare containing sunscreen as this will make your face looked washed out in photos.
3. Create a matte finish
To prevent shine and increase the longevity of your makeup, dust a lightweight setting powder over your face using a fluffy brush. Focus on areas prone to oiliness, such as the t-zone. However, be careful not to over-powder, as it can lead to a flat appearance on camera. For a natural-looking glow, use a subtle, translucent powder instead.
Pro tip - bring your setting powder along to your shoot (especially if it’s at the studio) in case you need a quick touch up!
4. Contour those cheeks
Whether your photoshoot is outdoors or in-home, photos can sometimes make your skin look washed out. Contouring along your cheekbones and using a matte blush will help create shape and definition.
Choose a shade that complements your skin tone - soft pinks and nude browns are a great option. Smile and apply the blush to the apples of your cheeks, blending it outward toward your temples.
Pro tip - start light and build up slowly to avoid overuse!
5. Accentuate your eyes
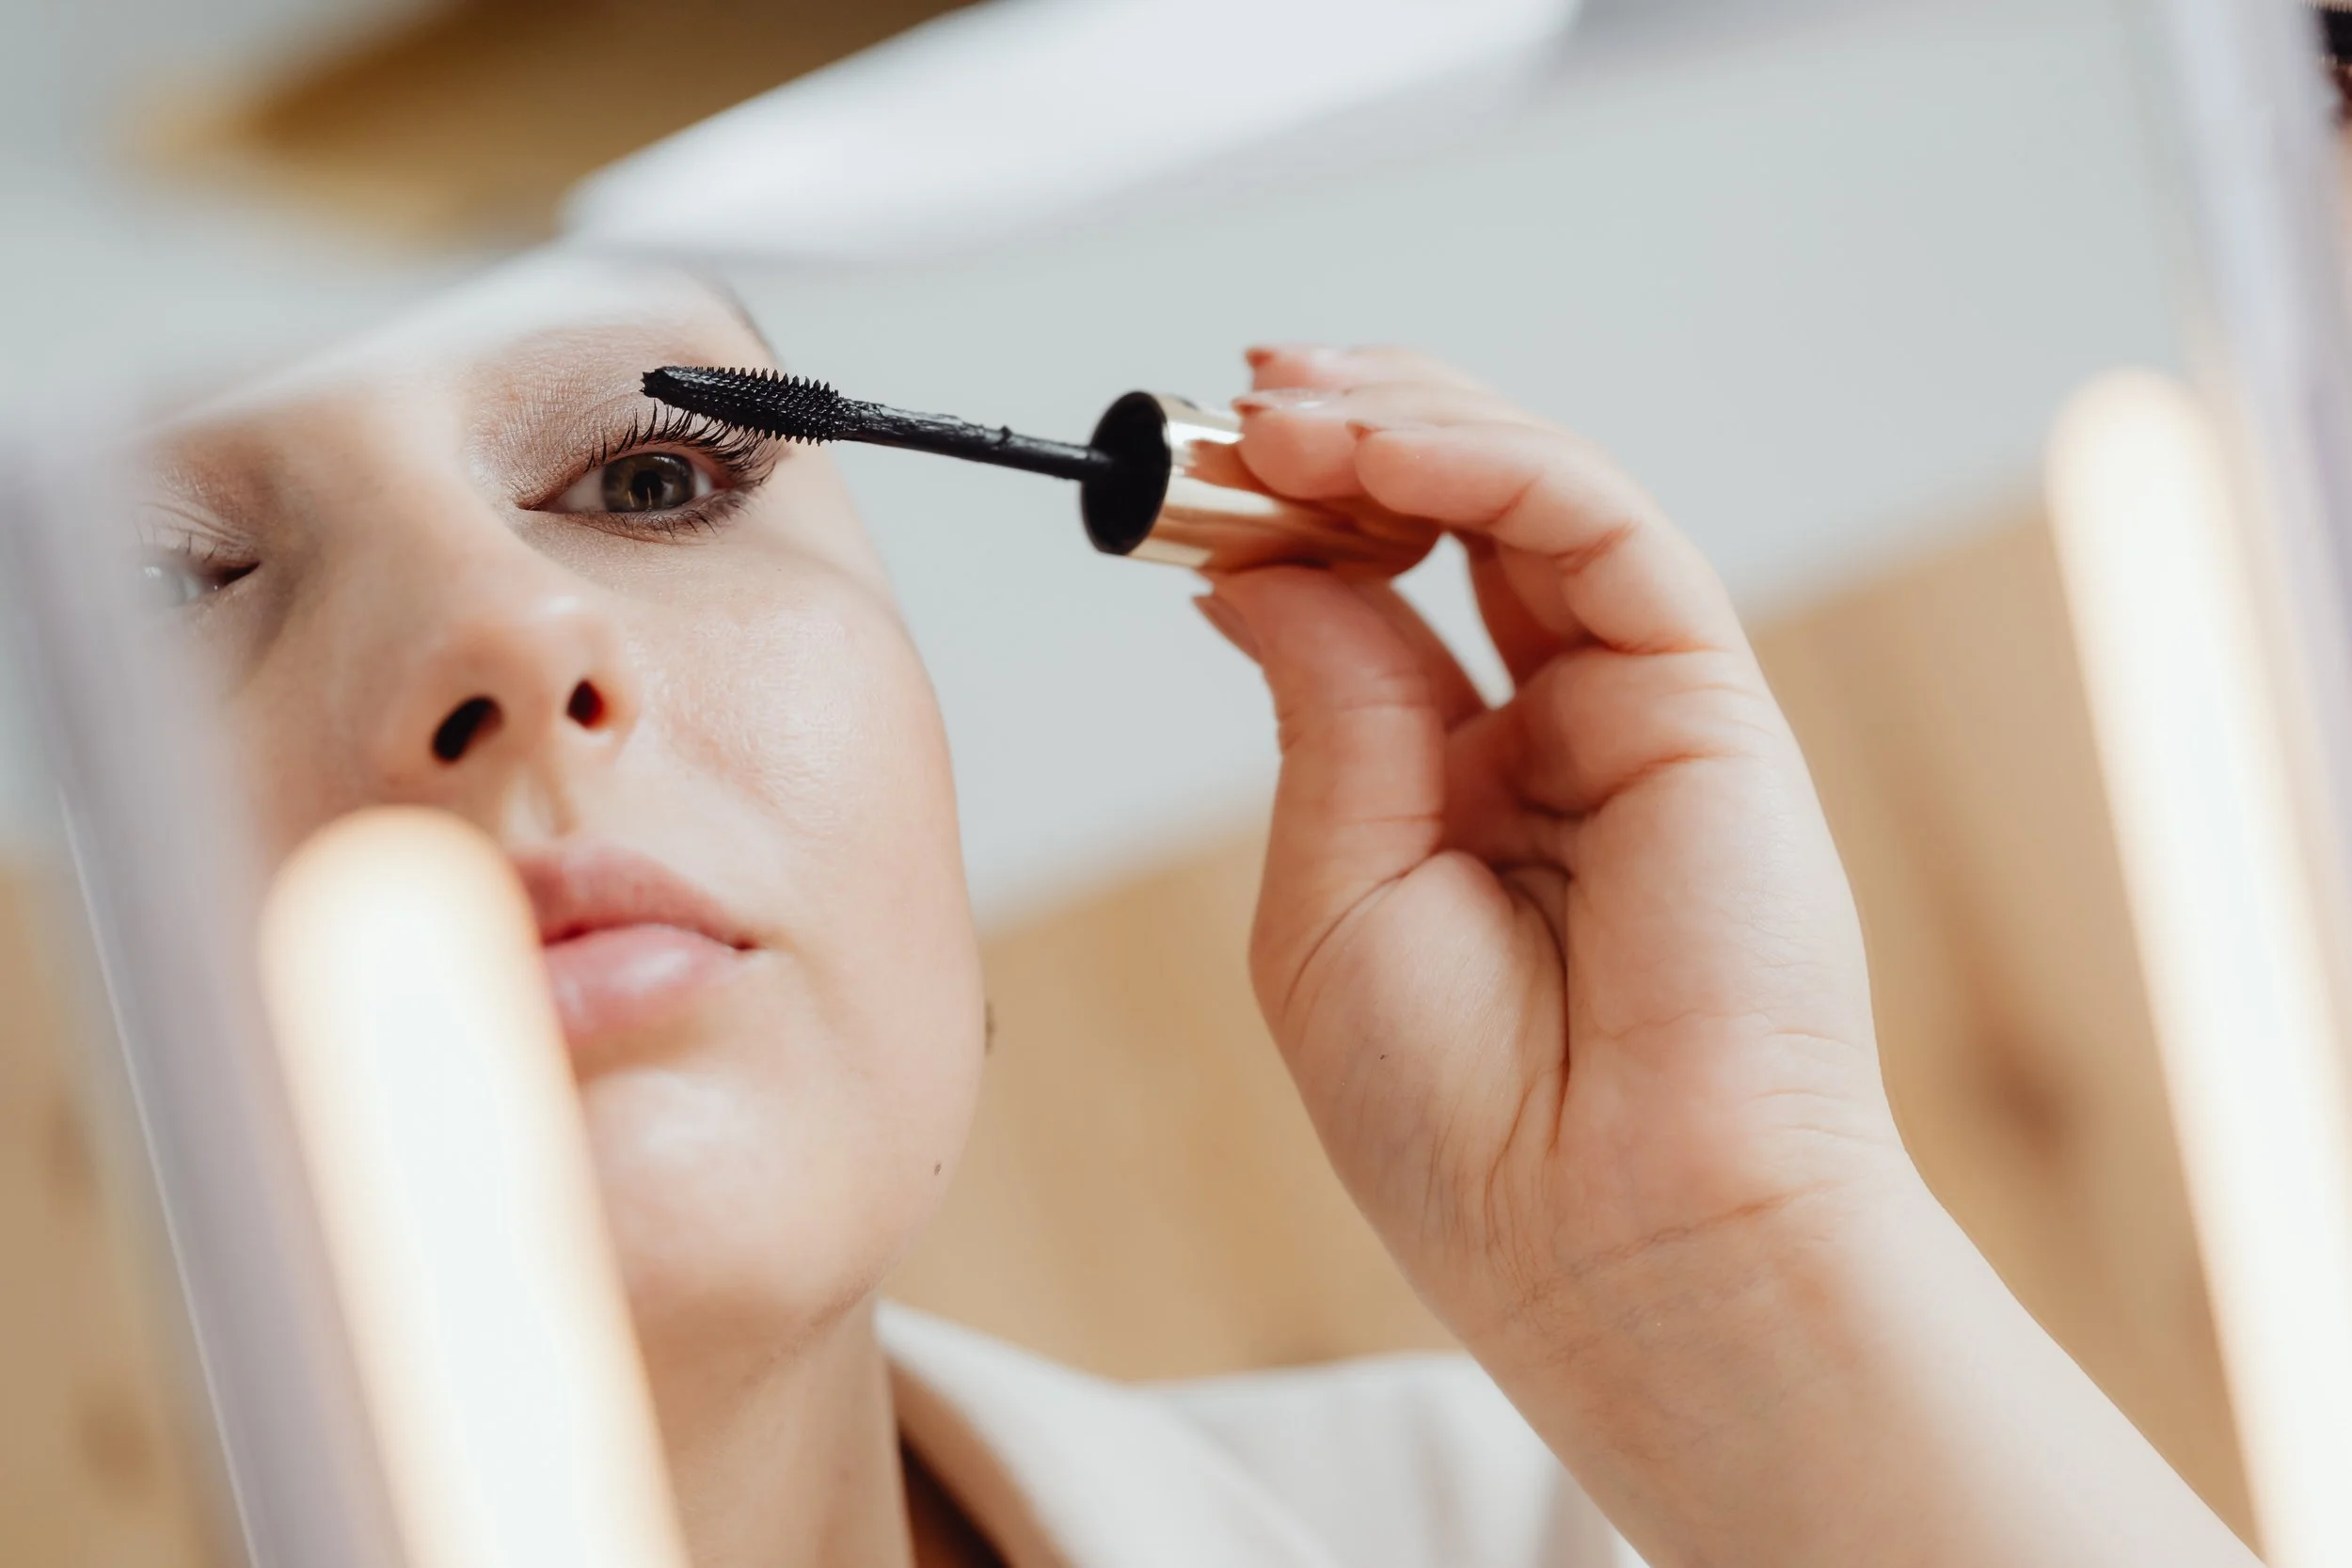
As a photographer I will often focus on my subject eyes. To enhance your eyes while keeping the look natural, opt for neutral eyeshadow and emphasize your lashes. Apply a light wash of color on your eyelids, focusing on natural shades like soft browns, taupes, or champagne.
Avoid heavy or glittery eyeshadows that will appear too dramatic on camera. Define your lashes by using an eyelash curler and apply lengthening and volumising mascara.
Pro tip - I like to apply two coats of mascara to really make my eyes pop!
Whether you're getting your makeup done by a professional or doing it yourself at home, by following these easy tips, you can achieve a beautifully natural look that makes you look and feel amazing.
Remember, the goal is to feel confident and comfortable in front of the camera while still looking like you. I want you to look back on these photos and smile, not cringe at that bright eyeshadow and heavy eyeliner you wore.


